
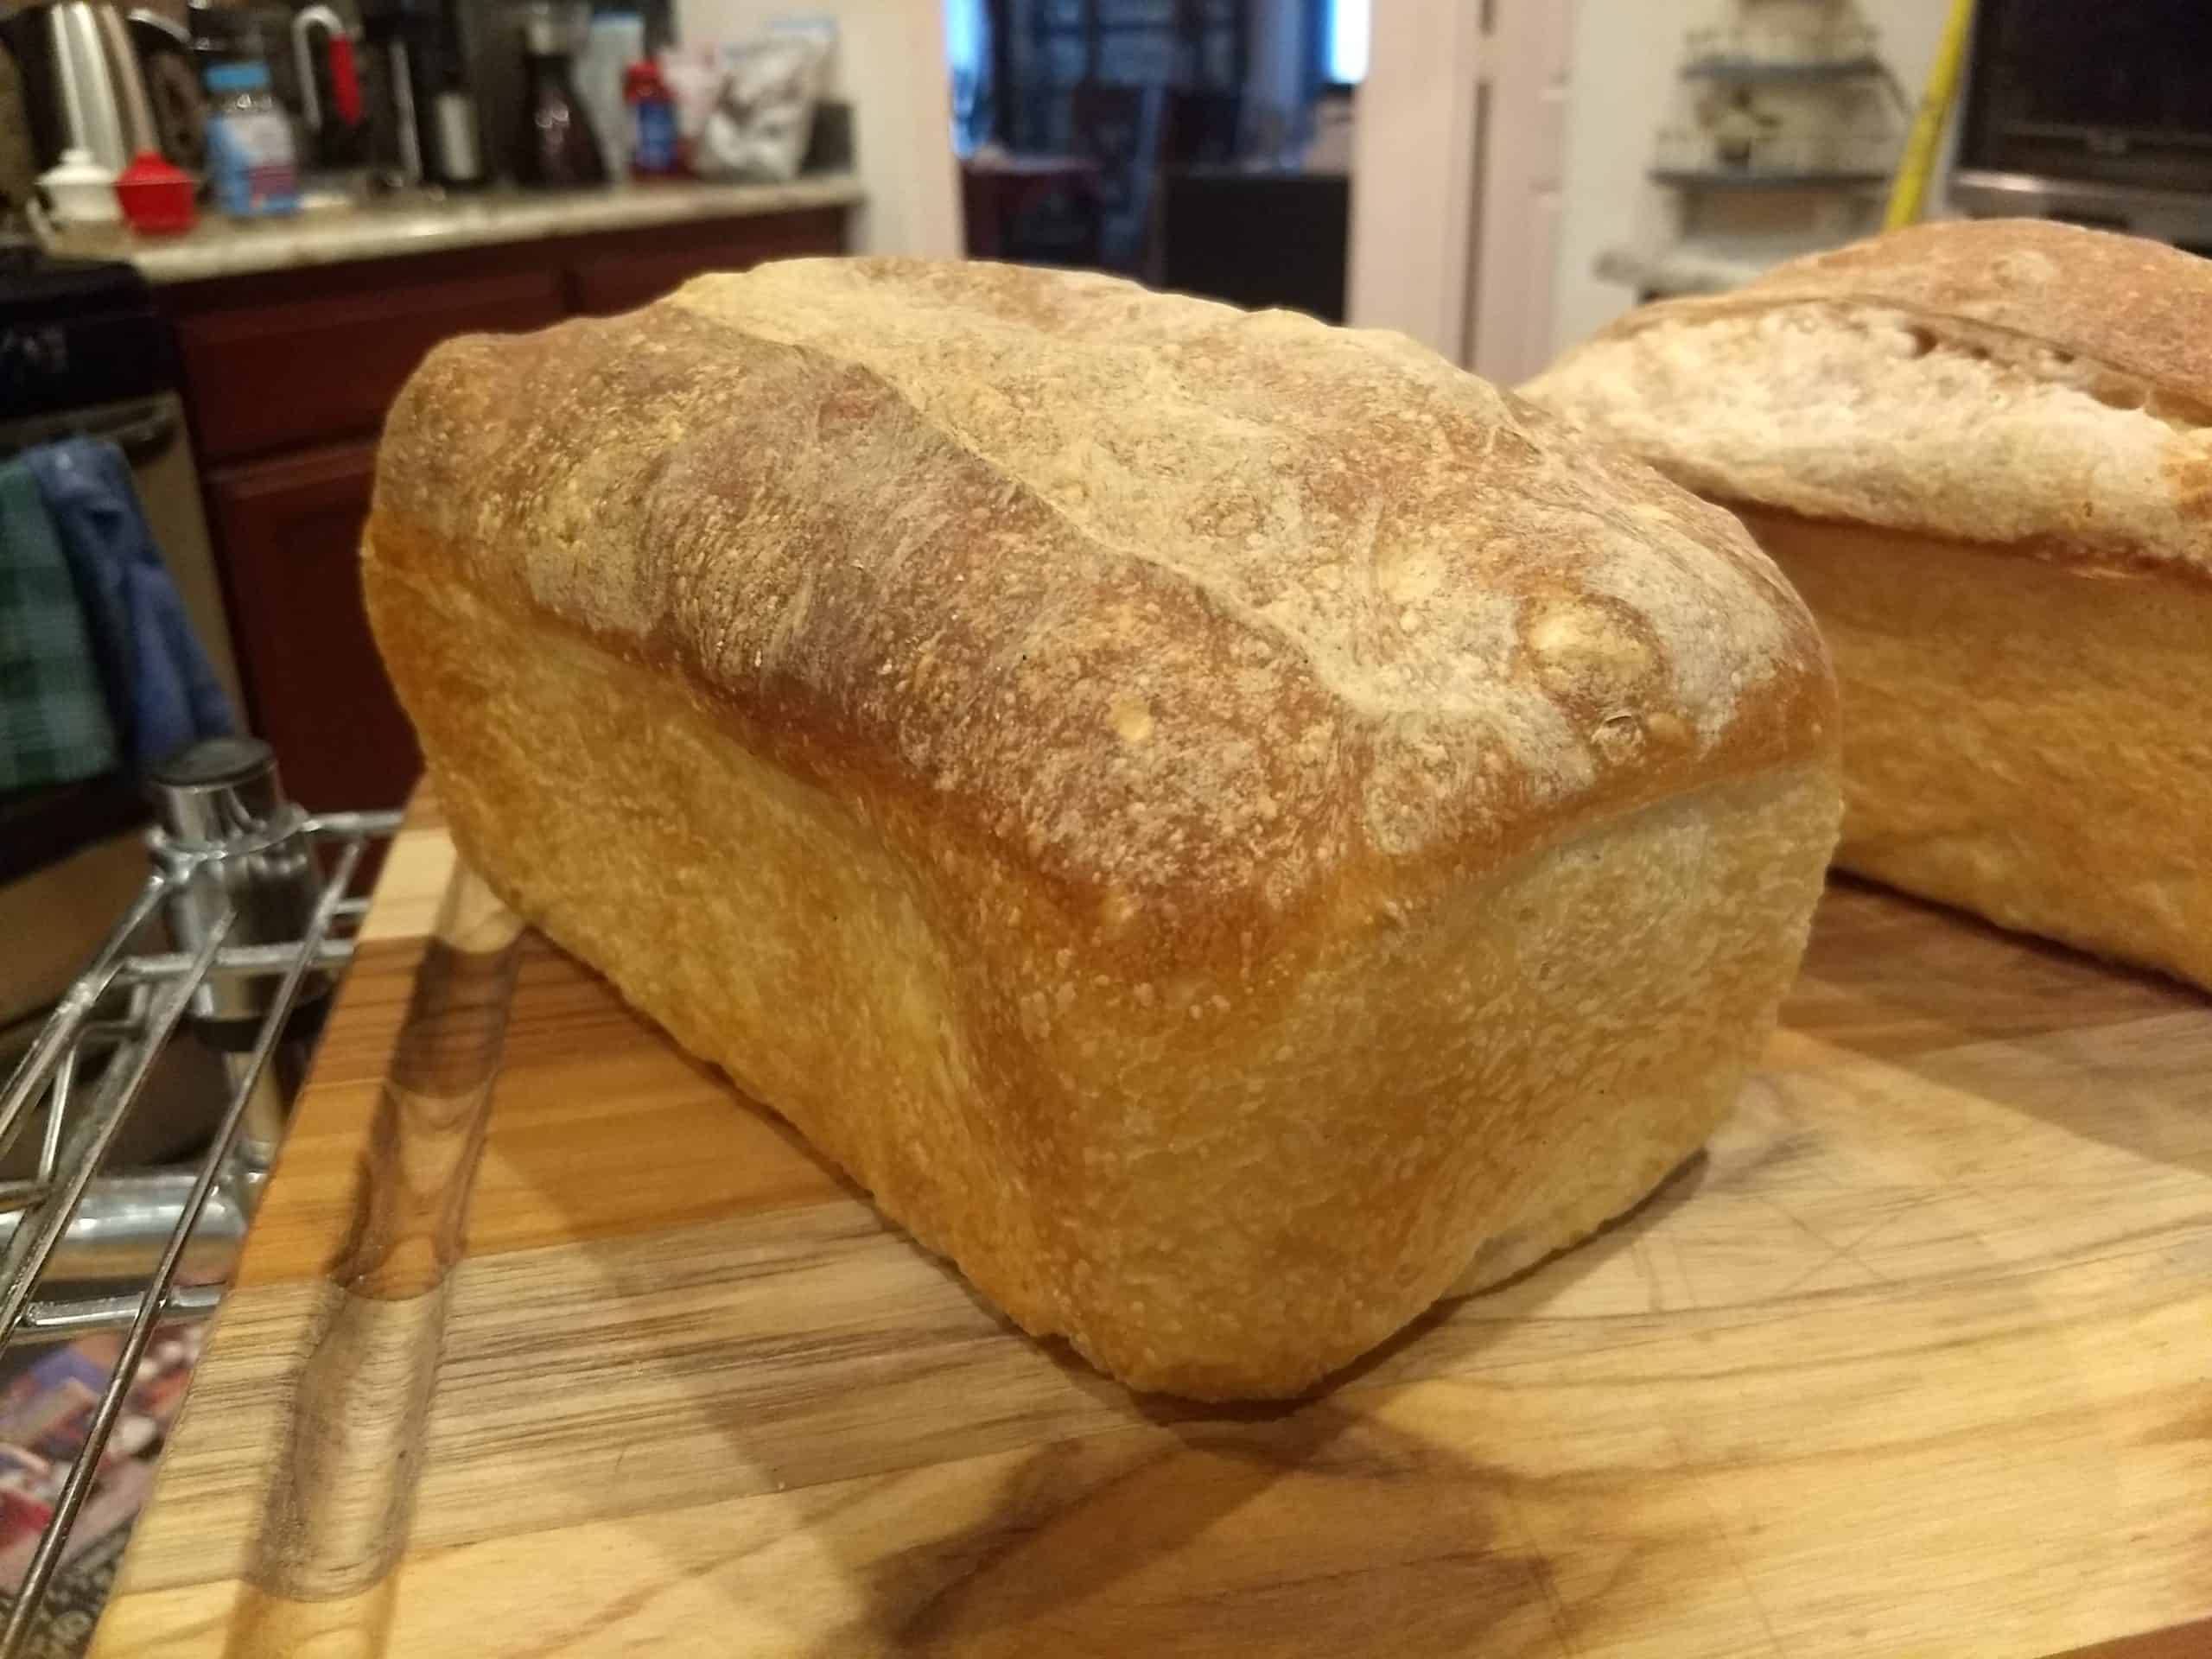
Simple Sourdough Pan Bread
This is from "The Friends of Carl", a group dedicated to giving away Carl Griffith's ancestral sourdough starter.
We talk about them at some length in "Getting a Good Starter" page.
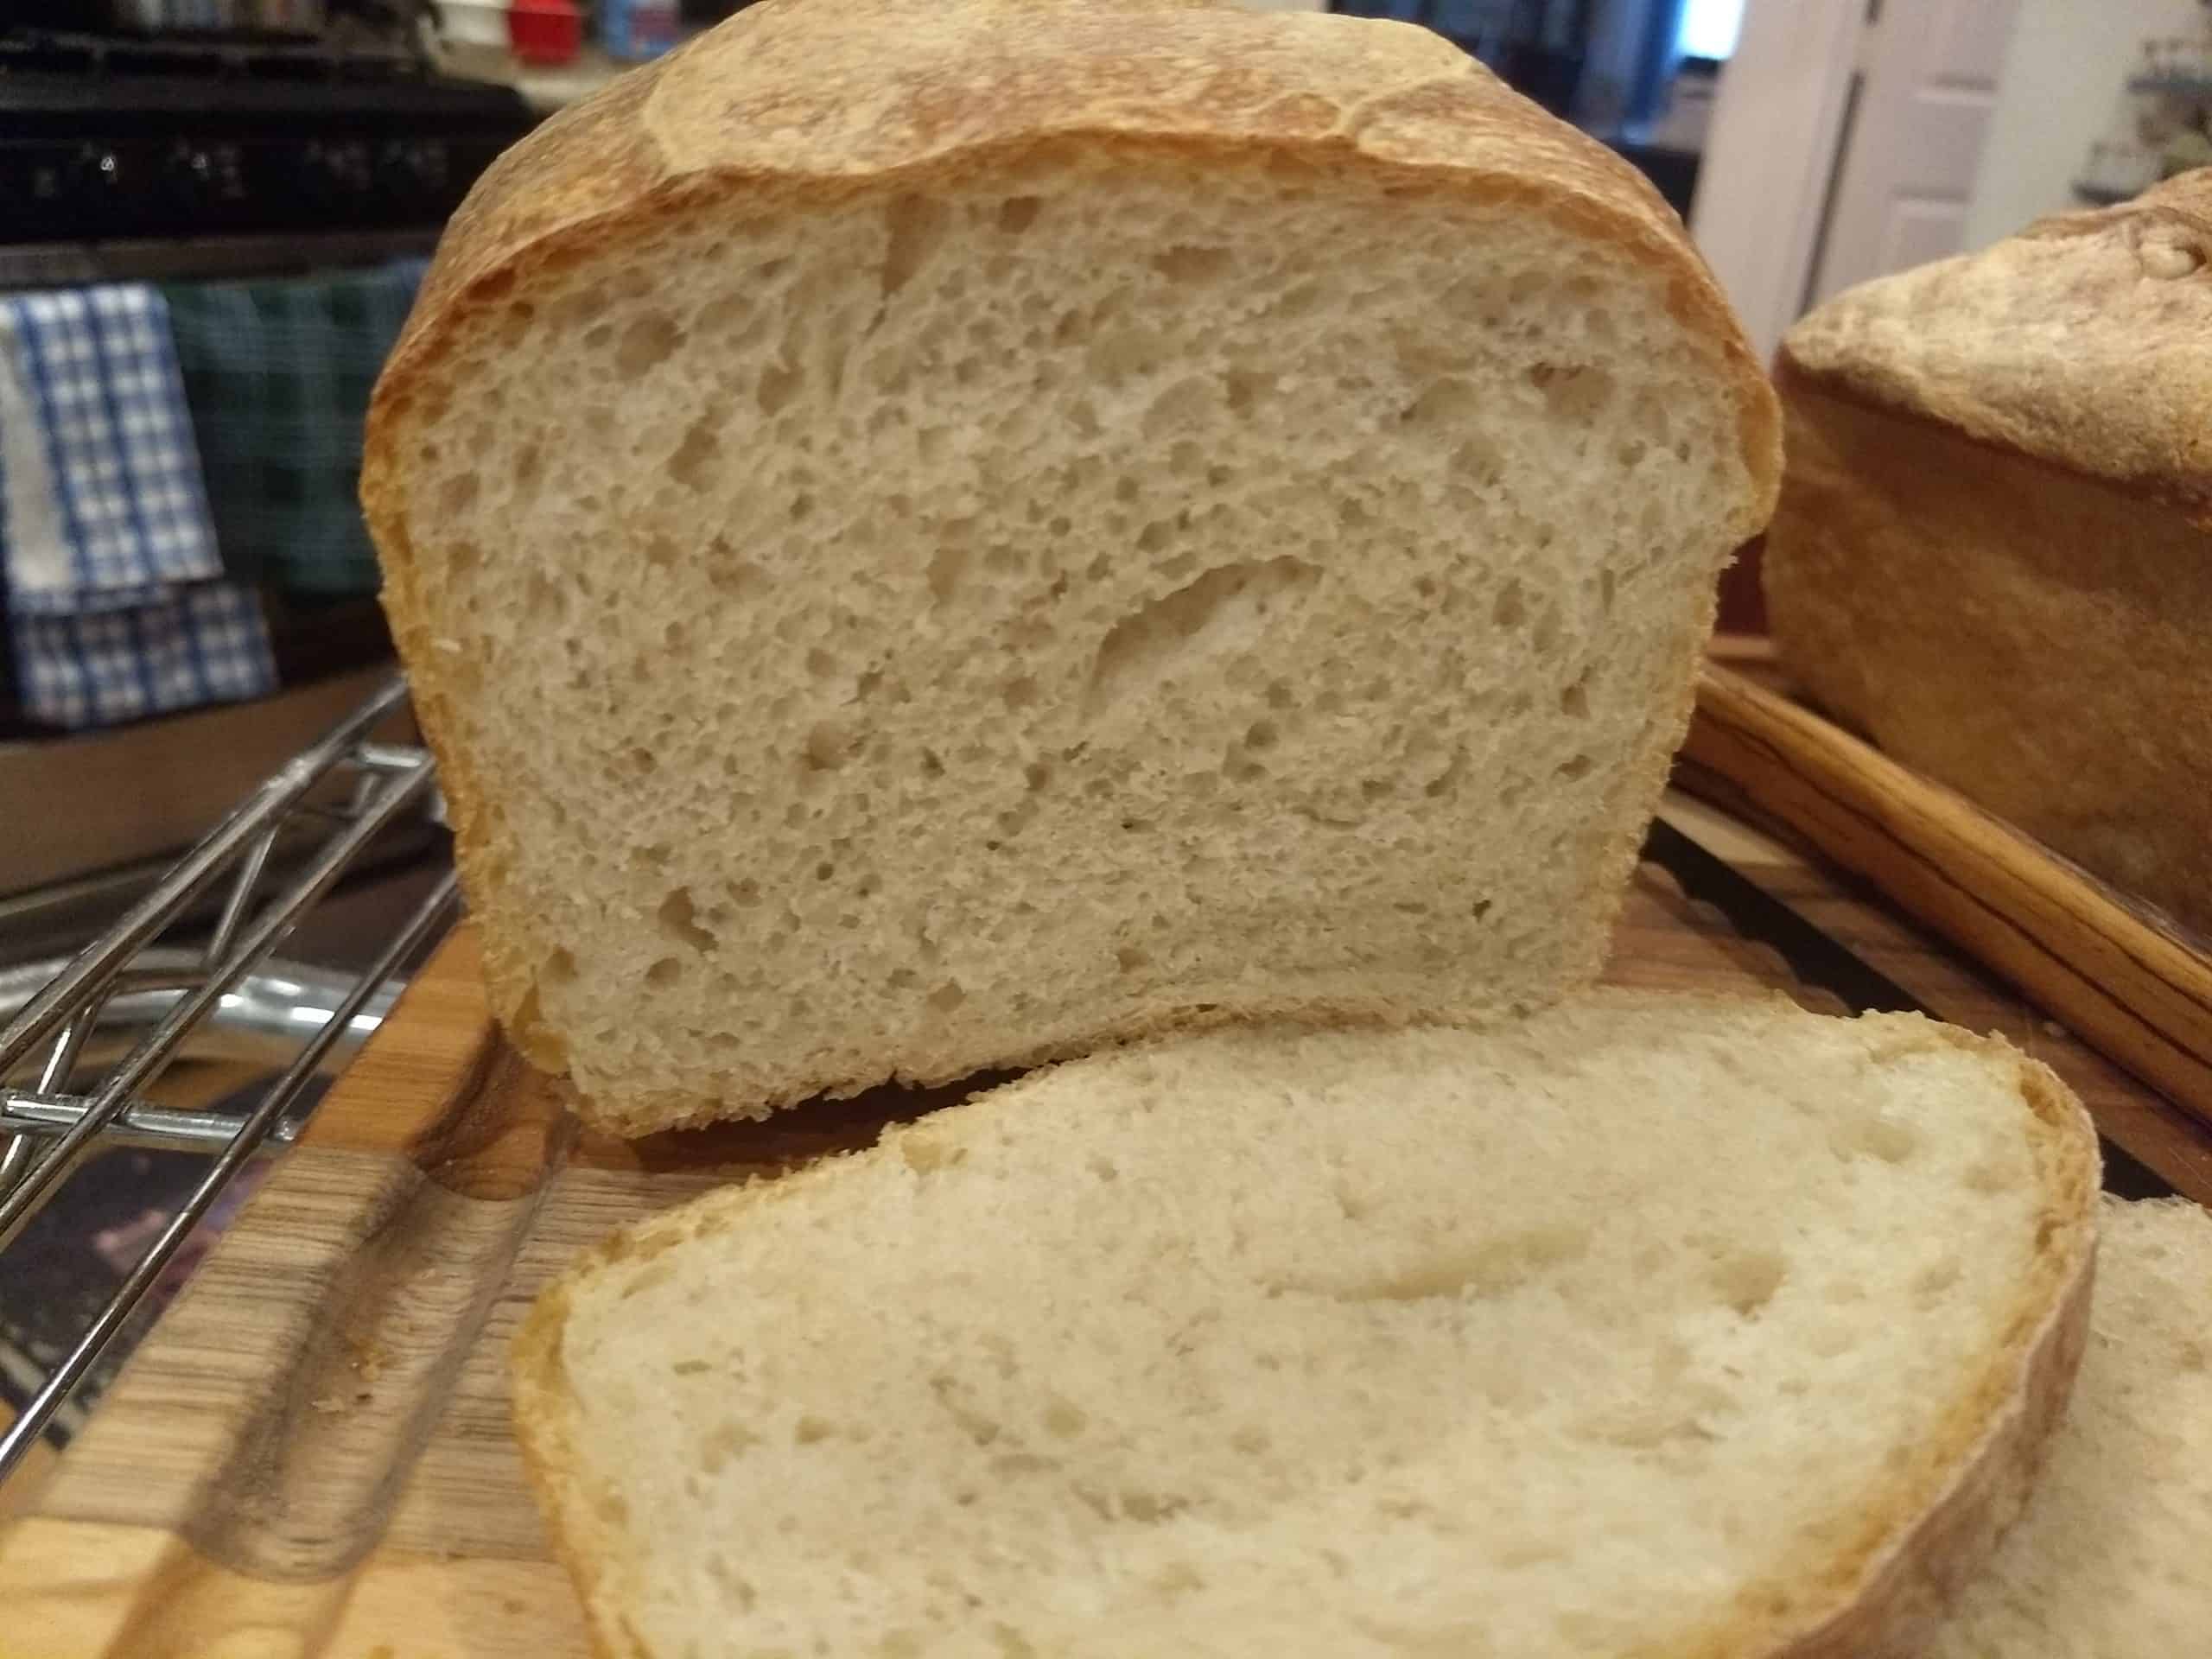
This bread is a good learners loaf, and it is the first loaf I baked that was nicely sour! It also is a nice soft sandwich loaf which many people have been asking for. I especially like that that author talks about what to look for at each stage of the process. The original recipe was here. Given how things change online, I thought I'd copy the recipe to this page with minimal editing. Many thanks to The Friends of Carl!
Instructions for simple Sourdough Pan Bread
using Carl Griffith's 1847 Oregon Trail Sourdough Starter and a Kitchen Aid K-45 mixer
Put into the mixing bowl:
Volumetric Measure (Cups) Ingredient Grams Baker's Percentage
1 cup Active Sourdough Starter 220 Grams 24.7
2 Cups Water 480 Grams 53.9%
3 Cups Bread Flour 360 Grams 31.46%
Mix manually.
Let sit covered for 8 to 10 hours at room temperature.
For the final dough, mix in:
Volumetric Measure (Cups) Ingredient Grams Baker's Percentage
1 1/2 tsp Salt 8.6 Grams 1.97%
1 1/2 Cups Bread Flour 190 Grams 42.62%
Machine knead about 10 min. at low speed while adjusting consistency by adding about:
Volumetric Measure (Cups) Ingredient Grams Baker's Percentage
3/4 Cups Bread Flour 93 Grams 21.31%
until the dough no longer sticks to bowl or fingers. This could take more, or less, flour than is called for depending on the condition of your starter and the flour you are using, so add the flour a bit at a time. In two recent bakes the amount of flour was 1 1/3 cups and 1 2/3 cups (160 and 220 grams). What is important is the condition of the dough, not using the exact amount of flour called for in the recipe.
Remove the dough from the mixer and hand knead it briefly, then split the dough into two dough balls, each of which will be a separate loaf. Work in more flour while hand kneading each piece. This could be as much as:
| Volumetric Measure (Cups) | Ingredient | Grams | Baker's Percentage |
|---|---|---|---|
| 1 1/4 Cups | Bread Flour | 160 Grams | 36.07% |
Form and reform each piece into a ball several times during 20 or 30 minutes, otherwise keeping them covered. 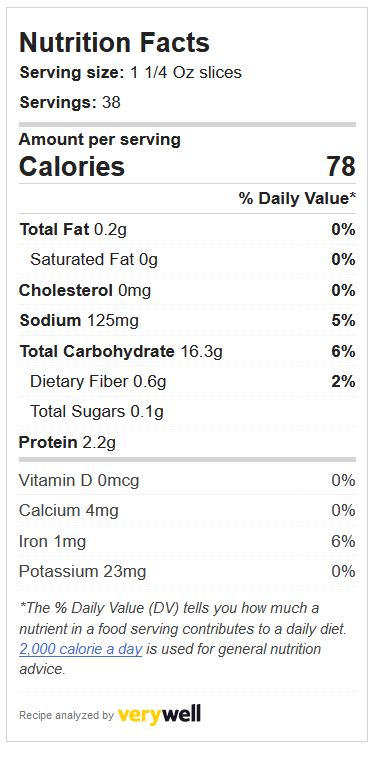 The dough should be soft enough to easily reseal a seam, but should not stick to your hands. Finally form into a pan loaf, place in pans and slash dough as desired. When finally formed, the dough should be silky smooth.
Place in pans, allow to rise 5 to 8 hrs. at room temperature, enclosed to retain moisture (Mike uses shower caps or processing caps available from beauty supply stores), until the top of the loaf is an inch or two higher than the top of the pan. Three inches above the pan is possible! Bake for 40 min. at 375°F/190C. The rise times are approximate, for a 70F/21C room. Rise times will be longer in cooler rooms, shorter in warmer ones. Because of the long rise time, expect little to no oven spring.
We used Teflon-coated steel pans, with about a two quart capacity when filled to the brim. You might fill your pans with water, and then measure how much water you used.
-Modified from a recipe at CarlsFriends
This has been a great first sourdough recipe for me and will probably be a staple for a while. I’d like to dress it up a bit with some whole wheat flour- about 10-15% or so to start. What else would I need to change with the recipe to accommodate that? More water initially? Longer rise or bake times?
Thanks for your help! And your website! It’s been an awesome resource.
Thanks for the kind words Josh!
If you were to replace 10 to 15% of the flour with whole grains, the recipe should work with no problem. As the amount of whoe grain goes up, the dough needs more water. We talk about that in our whole wheat recipes.
If you try it, please come back and share some pictures!
Thanks again,
-Mike
I tried this recipe using whole spelt for about half the flour, and bread flour for the rest. It came out well — soft and light, just what I was looking for. In light of the comment above, I took a couple pictures to share, but I don’t see a function to upload them.
Hi Sharon,
That’s great! Sorry you had trouble adding pictures. We were going to add the ability to add pictures to comments but got side tracked. So, there is no way at present. It’s on our list of stuff we gotta do.
Best wishes,
Mike
PS – you could email the pictures to me…
Just FYI, the link above (where it says “The original recipe was here.”) is broken!
Jaime,
Thanks for letting us know. The folks at The Friends of Carl changed the name of the folder where the pictures were stored. The guy who created the folder is named “Dick” so the folder was “dickpics”. Over the years, that has assumed less innocent meanings and they decided it was time to change the folder’s name.
-Mike
Finally got a starter going. Took me weeks of trying😬.Till now I’ve only done recipes with the discard; yours is the first I’m trying with the fed starter. So far, so good. It’s actually rising in the pans, Thi in my kitchen it will take at least 8 hours. So excited to see what happens!!!
Hi Sam,
This is one of the most reliable recipes I’ve used. Dick Adams, who wrote it, described how the dough should look and feel very well, and that really helps.
Hope they come out well,
Mike
My sourdough loaves came out horrible. Fell asa I put them in the oven; the crust is a rock and the bread SOUR but not sourdough sour🥴
Hi Sam,
That can be disheartening, but it isn’t unusual and it is easily prevented.
It sounds like your dough had over-risen and become fragile. Next time, don’t let it rise quite so much. Use the poke test to see if the dough is ready to bake. Also, if you slash the dough and it collapses, that’s a hint that you don’t want to slash the rest of the loaves in that batch.
Best wishes,
-Mike
Mike, Interesting recipe, I’m going to try it. It’s very different from the one I use. I scaled mine up from a recipe for a 2lb. loaf to yield 2 1.5lb. loafs. However, after 8 hours, (I punch it down and reform after 4 hours) the loaves only rise, including spring, to about 3″. I’d love to have another inch. I use half the starter, 12oz. of water, 840g flour, 55 g raw sugar, and 2 2/3 tsp salt. I’ve also never thought about doing a prep feeding of the starter overnight before kneading in the salt and most of the flour. Do you leave it in the aluminum mixi9ng bowl overnight?
BTW, is the newsletter still active? haven’t seen one in a while. Thanks.
Hi Rick,
Easy question first – yes the newsletter is still active. There’s a reason why it’s “Mike’s (more or less) Weekly Baking Tips”. Right now, it’s less. Something should come out in the next day or three. We’ve been very busy getting ready for a special class.
My mixing bowl is stainless steel and I do leave my starter in that overnight. I wouldn’t leave the starter in base metals as the acid in the starter can dissolve base metals. We talk about that in our Old Husband’s Tales article.
Your recipe is different enough that they make very different breads. And that’s OK, it would be a boring world with just one kind of bread. On the prep feeding, I am a big believer in the idea that “it takes a consistent process to create a consistent product”. So, when I pull a starter out of the fridge I typically feed it for 3 days before I use it. I want to see it at least double in size between feedings. This may be more conservative than needed, but it works for me.
Hope that helps,
Mike
Hello Mike,
Isn’t it unusual to score the loaves before the final rise? I think this is the first time I’ve ever seen that in a bread recipe.
Thanks for all the great information!
Hi Paul,
if you ask 5 bakers how they do something you’ll get at least 12 answers. Let’s start with a bit of heresy – slashing isn’t required. People slash to take advantage of oven spring, so the dough will tear in attractive ways. Oven spring usually happens when the dough hasn’t been allowed to fully rise. In France excessive oven spring is seen as a flaw, as it means the dough was robbed of its full flavor development through fermentation. However, they do appreciate a good “ear” on bread, so they don’t dismiss oven spring, just excessive oven spring. All this means, you can forgo slashing altogether.
If you do slash, you can slash as soon as you form your loaves. The advantage of this is that the loaves won’t collapse due to the slash. On the other hand, the slash will be less distinct when baked as the rising dough will tend to fill in the cut somewhat. Still it can be attractive, though not as dramatic as slashing a risen loaf.
You can slash a risen loaf, and that can create some vivid patterns on the baked loaf. However, it carries the risk that when the loaf is slashed, it could collapse. If the loaf collapses, that’s a hint that you shouldn’t slash the rest of the loaves in that batch. You can knead the loaf again, and let it rise again so all may not be lost.
Refrigerating a loaf can firm it up and prevent loaf collapse. This can be especially useful if you get into complex loaf art where you slash loaves very decoratively. We recently shared a web article about Blondie B’s bread art on the Bake With Mike facebook page. In case you missed it, look at https://mymodernmet.com/blondie-rye-bread-art/
Hope that helps,
-Mike
I tried making Whole Wheat sourdough bread but it did not raise well.
Hello Charles,
You might look at our article on 100% Whole Wheat Bread. A whole grain bread won’t, overall, rise as well as a bread made with refined flour, however the recipe I’m referring you to rises pretty well.
-Mike
I just made my first loaf with this recipe! it turned out perfect. This is the best recipe ever. Thank you so much for giving us this recipe. I can’t wait to try the bread. it looks so good!! Thank you!
Hi Robin!
Thanks for sharing your comments, we love hearing success stories! This recipe is very much a case of, “if you’re gonna steal, steal the best”. The recipe is a great tutorial.
-Mike
Can this be baked in a Pullman loaf pan?
Hi Leo,
Of course! Dough really doesn’t care about the container it is baked in.
-Mike