
Sourdough Ciabatta
Ciabatta is an Italian word meaning "slipper". It's a soft bread that is shaped like a slipper. It's a messy bread. It's a bread where
I usually use a mixer, though stretch and fold worked well. Enjoy it by tearing it apart and dipping the pieces into a nice flavorful olive oil. As is so often the case, I stole this recipe and converted it to a sourdough recipe. After years of not giving full credit to the person from whom I stole this recipe, I can now say (thanks to an astute site visitor and Google groups) that the recipe was first posted by Fortune Elkins in the Usenet newsgroup rec.food.baking. She hasn't been there in some time, and she is sorely missed. I've changed the recipe a bit here and there, so the errors that have crept in are certainly my additions, and the good stuff is Fortune's original text. I've posted a copy of her recipe for reference purposes, and for those who want to try the original.
This recipe has been on this site since 2002 or 2003. We got a few complaints and took it down in 2019 promising to test the recipe and correct it "real soon now". Just five short years later, here we are.
The complaints were that the dough was impossibly dry and they couldn't get the flour incorporated. Both complaints were from Australia. Not having used Australian flours, I can't say it was the flour. However, I was able to make this recipe with no problems. I'll comment about possible problems as we go along. Originally, the dough was at 65% hydration . As I reviewed the recipe, I changed it to 75% hydration which yielded a much more supple dough and gave us a better rise.
Originally I wrote that, "Ciabatta needs a super, super wet final dough, like mud. It should be very sticky." What a difference a few years makes! With more experience, I don't find this dough all that super liquid or hard to handle. However, it is on the more liquid side of things, so try not to add extra flour to make it easier to handle. It should be a rather wet dough. I don't recommend trying to knead this dough by hand, which is why I suggest using a mixer or using the stretch and fold technique.
This recipe makes two 1 1/2 lb (770 gram) loaves. You need to start the bread the evening before you plan to bake. Also, I recommend using the nicest, greenest extra-virgin olive oil, because you can taste it in the bread.
It's not nearly as much work at it might seem at first, in fact, it's quite easy!
First, we'll make a thick sourdough starter for this bread, using your regular starter as a base and we'll let it work overnight developing taste and power. Thicker starters tend to have more sour taste which works very well in this bread.
Please be aware that the cups and gram measurements are approximations of one another. Most people who measure in grams do not want to weigh out 1,234 grams. 1,230 is close enough. Nor do people using cups want strange cup measurements like 3/16 cup. So, please don't think that, for example, 90 grams of flour is 1/2 cup.
Mix:
| Volumetric Measure (Cups) | Ingredient | Grams | Baker's Percentage |
|---|---|---|---|
| 2 cups | Bread Flour | 240 grams | 100% |
| 1/2 cup | Water | 110 grams | 44.55% |
| 3/4 cup | Active Sourdough Starter | 180 Grams | 74.26% |
You want to mix this until the thick starter holds together and is well mixed. You want a dough that is smooth and elastic. This is where our Aussie friends ran into trouble. This starter is fairly stiff at about 60% hydration, just a little wetter than a bagel dough. You may need to knead this by hand to get all the flour incorporated. You may need to add just a bit of water, but try to keep that to an absolute minimum.
Put the thick starter in a clean bowl and cover it. I like using my KitchenAid's mixing bowl because it has nice straight tall sides. Let the thick starter rise in a warm place for 12-15 hours until the thick starter rises sky-high and then collapses back onto itself. If your house is warm, this could happen faster, maybe even 8-10 hours. But in general, slower is better here.
Once your thick starter has risen and fallen, it's time for the next step, making the dough. You'll need:
| Volumetric Measure (Cups) | Ingredient | Grams | Baker's Percentage | ||||||
|---|---|---|---|---|---|---|---|---|---|
| 1 7/8 Cups | Water | 450 grams | 78.81% | ||||||
| 2 TBSP | Extra Virgin Olive Oil | 28 grams | 4.88% | ||||||
| All of it | Gassy starter | 520 grams | 89.94% | ||||||
| 4 7/8 Cups | Bread Flour | 580 grams | 100% | ||||||
| 1 tsp | Instant Dry Milk | 4.2 grams | 0.73% | ||||||
| 1 3/4 tsp | Salt | 11 grams | 1.84% |
Once the thick starter has collapsed, it will be airy and gaseous, but still rather thick, Mix together the thick starter, water, milk, the olive oil, the salt and about 1/3 of the flour. You can mix this with a wooden soon, your hands, or your mixer on a medium speed. This will break up the thick starter, and the mix will be like soup.
If you are using the stretch and fold technique, and you want to add sun dried tomatoes, add them now. If you are using a mixer, lower its speed from a mixing to a kneading speed. However you are mixing this dough, add the rest of the flour gradually while continuing to mix the dough.
If you are using a planatary mixer like a KitchenAid, keep a wooden chopstick on hand to push the sticky, muddy dough down so it won't climb over the top of the dough hook. Knead in a machine for about 5-6 minutes. You may have to stop the mixer to scrape the sides of the bowl once or twice. You may also use the stretch and fold technique.
As the dough kneads in the machine, you will see it turn from a puddle of mud to a sticky dough with long, long strings of gluten forming and stretching from the sides of the bowl to the ball of dough on the hook.
If you are using the tomatoes, and haven't already added them, do so now and knead the dough for another minute.
Cover the dough in the mixer bowl and let rise for 1-1/2 to 2 hours, or until at least double in bulk. (My dough tripled in just 1-1/2 hours, because I have a warm kitchen.)
Get two baking sheets, cover them with bakers parchmnent, and sprinkle them with flour. Take a spatula and carefully spoon out a half of the still very sticky dough onto each. Try not to deflate the dough too much, although it will deflate some, you can't really help it.
Since ciabatta means slipper in Italian, try to make each loaf the length of a man's shoe. If you spoon the dough out to one edge, and sort of use your spatula to guide it in a ribbon down the baking sheet you can preserve the light strands or striations in the dough, which will look nice when it's proofed and baked. The loaves will probably be about an inch thick. If you want to give them a nicer shape, flour your hands lightly and neaten up the edges into an oblong. Think shoe, not loaf! Think rustic - don't make the loaves over-neat and perfect, you want a rustic look. Flour your hands again and very gently pat the tops of the loaves to flour them, or sprinkle them with flour if you're afraid of smushing them.
The dough will still be like glue at this point, so don't even try to handle it much. It's a mess, and that's the way it needs to be. Let them proof for 30-40 minutes, or until a little less than double.
Preheat the oven to a solid 425 degrees. You'll get better results with a baking stone or unglazed and unsealed quarry tiles, of course. Bake for 25-30 minutes until very light golden brown, (maybe 22-25 minutes if using stones or tiles). Either way, an instant read thermometer should measure 190F/90C (205F/96C at sea level) when poked into the loaf. Try not to overbake the bread.
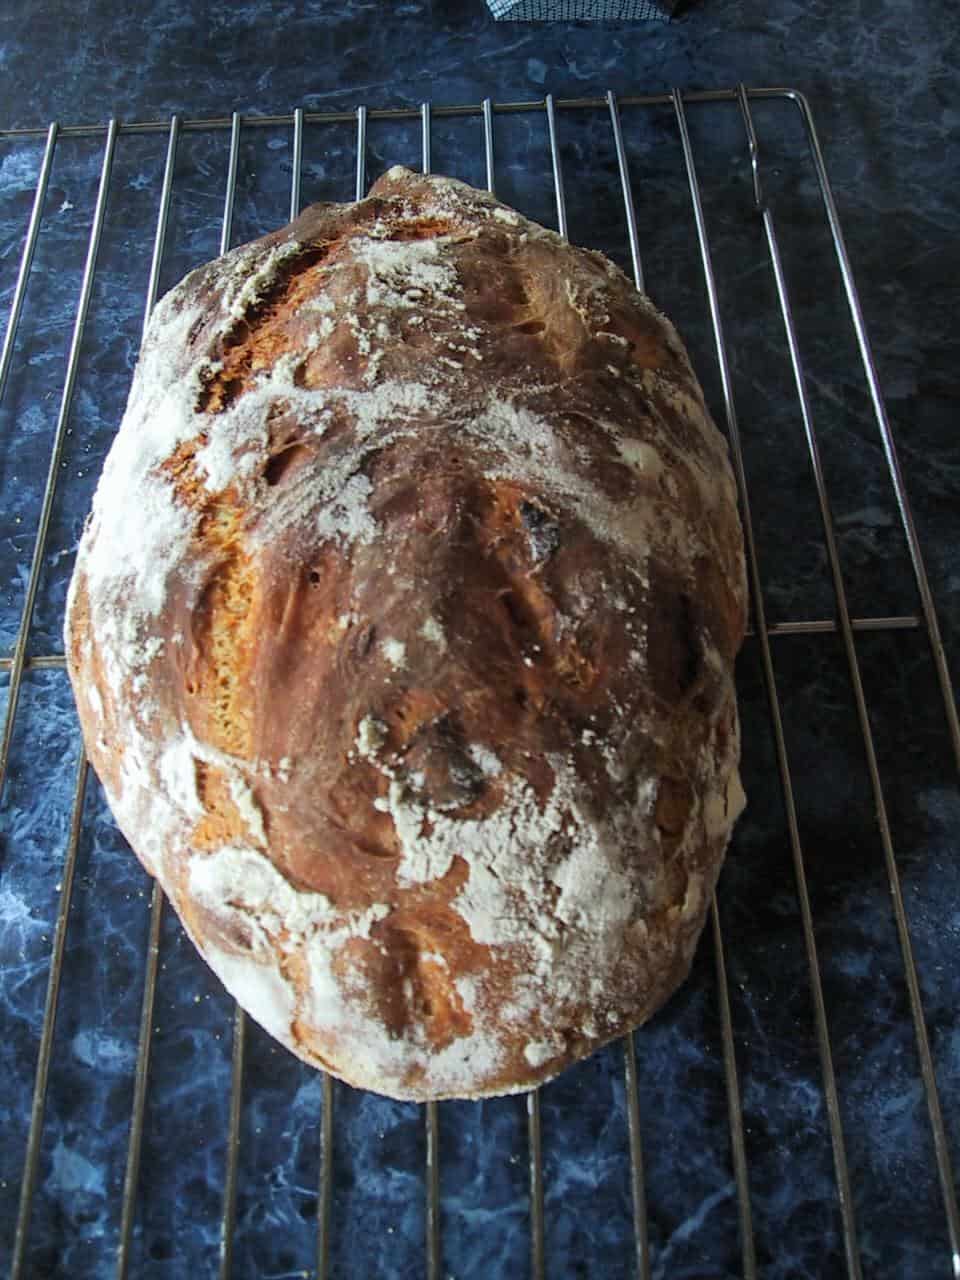
Cool on a rack, etc.
Have fun - share it with family and friends at the dinner table or in front of the TV or stereo, tear off hunks and dip 'em in warm oil. Add a bottle of wine.... what could be finer?
Thanks for the recipe Fortune, where ever you are. And sorry about the changes.
I just came here to get the recipe to re-print it because my old one is getting stained from getting dripped on and stuff. Great recipe!!!! We love it!!!